
By Dennis Sparks
Another top-quality build Dennis! Thank you so much for the article -AB
Beginning in 1909, almost all of the first aeroplanes that had been acquired by the US Army Signal Corps were either Wright or Curtiss “pusher” designs, with engines that were situated behind the pilot. As might be expected with this new technology, during the first five years of flight operations crashes were both frequent and too often fatal. Realizing that the location of the engine was a factor in some of the fatalities, on 25 February 1914 the Army grounded all of their remaining “pusher” aircraft, leaving them with almost no aircraft to fly.
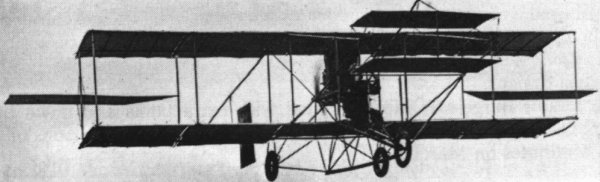
Curtiss Model D Pusher (courtesy Wikipedia)
Seeking to purchase safer aircraft, both Martin and Curtiss responded to the Army request with designs for two-seat biplane trainers with the engine and a “tractor” propeller mounted in the front of the aircraft. The Army bought three Martin Model T aircraft, which curiously enough were specified to be delivered without engines, as for reasons of economy, they wanted to re-use some of the engines that had been salvaged from crashed aircraft. Later the Army purchased an additional fourteen Martins which were to be delivered with a variety of new-built engines. And while both the Army and the Navy also later acquired a few examples of the Martin Model S floatplane which shared a common heritage with the Model T, the type has largely faded into obscurity.
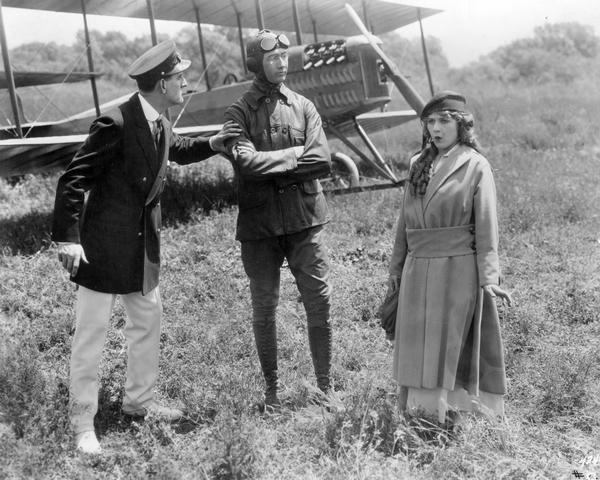

Martin Model T (from the movie A Girl Of Yesterday) and Model S – click to enlarge (courtesy Wikipedia)
The original Curtiss design fared little better, but it evolved into what was to become arguably the best known American aircraft of the First World War era, the JN-4 “Jenny”.
During a trip to England in 1913, Glenn Curtiss visited the factory of Thomas Sopwith. While there, he met and hired Benjamin Douglas Thomas to design a tractor biplane for him. Thomas immediately began working on the new design, with the first flight of the resulting Curtiss Model J taking place in March 1914. Only two were built for the Army, where they received serial numbers 29 and 30. Curtiss also built a single example of a slightly different aircraft and it too was sold to the Army, where it was became serial number 35.
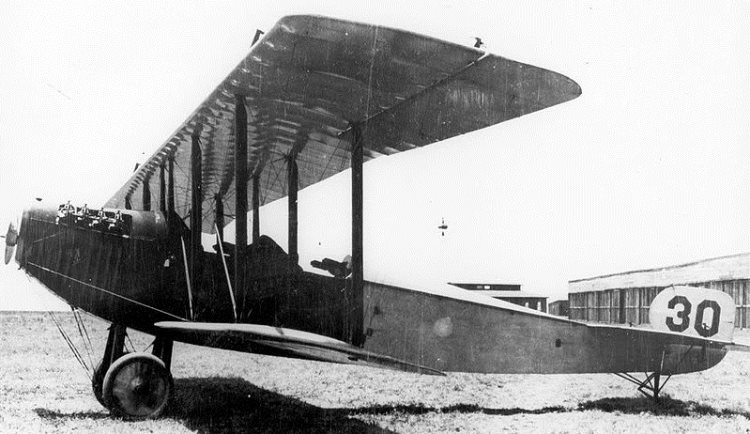
Curtiss Models J (left) and N – click to enlarge (courtesy Wikipedia)
Designated as the Model N, s/n 35 used a different engine and airfoil, and reverted to the earlier Curtiss practice of situating the ailerons midway between the upper and lower wings. During its testing, it was reclaimed by Curtiss and used in his defense against a patent infringement lawsuit that had been filed by the Wrights. The ailerons were locked into place and the wings were given a pronounced seven degrees of dihedral. It was then flown to demonstrate that safe flight could be achieved without the need of 3-axis control!
Thomas had incorporated the latest thinking in European tractor biplane design, but had retained the by-now antiquated Curtiss style of flight controls. A wheel mounted on a control column was used to move the rudder, while fore and aft motion of the column controlled the elevator. A U-shaped harness fastened to the back of the allowed the pilot to control the ailerons by moving his shoulders from side to side.
Most online sources about the Jenny indicate that the later JN-series of aircraft derived from combining the best features of both the Model J and the Model N, while other sources claim that Army s/n 29 was effectively the prototype JN-2 and that s/n 30 was the de facto prototype JN-1. But these claims are not necessarily mutually exclusive.
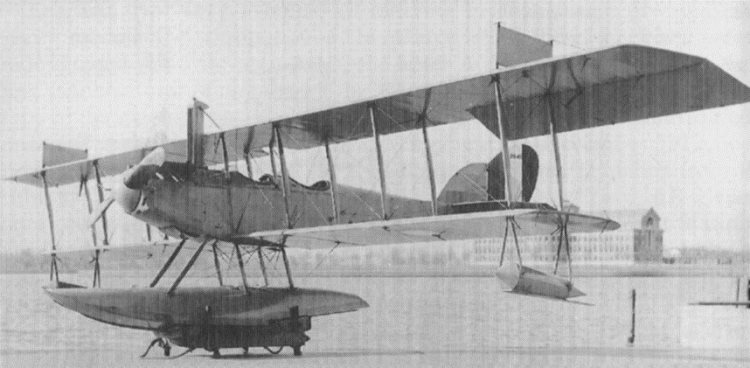
About ten production examples of the improved JN-2 were built, followed by about 180 JN-3s. The JN-3 was the first of the JN series to incorporate both a fixed vertical fin and a rudder, replacing the Sopwith-style rudder only of the earlier aircraft. The JN-3 also changed to the Deperdussin style of flight controls, using a rudder bar situated on the floor of the cockpit, with the wheel on the control column now being used to control the ailerons. By this time, JNs were also being built and flown in large numbers in Canada to train wartime RFC pilots. To conform to the style in use in most British warplanes, the Canadian-built JNs dispensed with the wheel and adopted the now-familiar two-axis control column, and this was later adopted for the new JN-4.
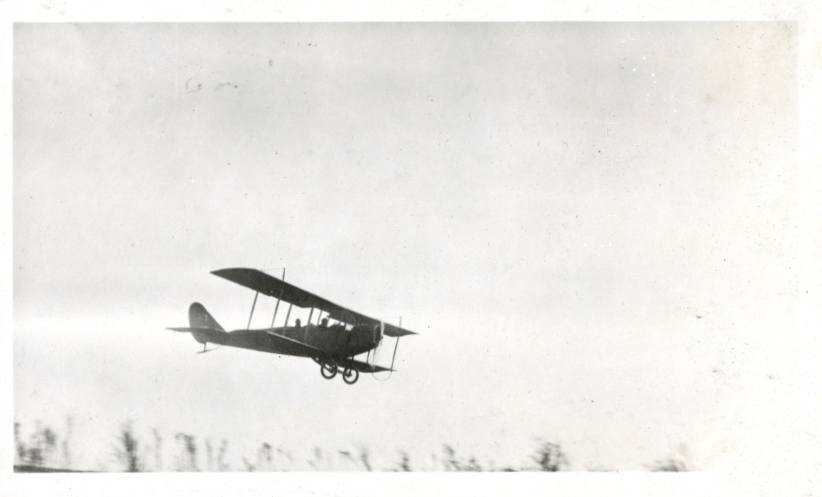
Curtiss JN-3. Right photo is courtesy of Corky Mohedano at the Kentucky Historical Society (click either to enlarge)
Originating in 1916, the JN-4 series was by far the best known of the JN series. There were a number of JN-4 variants, with the most numerous being the JN-4D with a 90 hp. Curtiss OX-5 V-8 engine (2800 built), and the JN-4H (900 built), which had a 150 hp. Wright-Hispano E, a license-built copy of the Hispano-Suiza 8Aa.
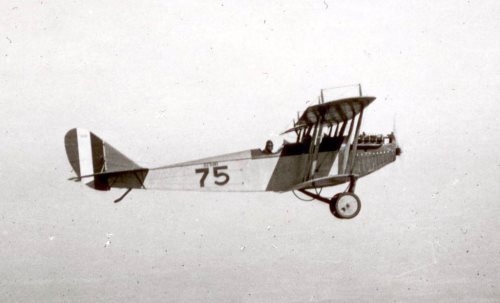
Curtiss JN-4 (courtesy of Wikipedia)
Almost every American pilot in WWI flew the JN-4 at some point in his training. After the war, thousands of Jennys were sold to the general public at near-giveaway prices, which inadvertently destroyed the market for newer, more modern aircraft for a decade. But it also provided the Jenny, by now thoroughly obsolete, a second career as a barnstormer and introduced many thousands of Americans to aviation. They were finally retired in 1928 as new government regulations ostensibly designed to improve safety took effect.
The subject of this model…
Earle Ovington had flown his Bleriot XI to deliver the first US air mail in September 1911, but this was mostly a publicity stunt that had been arranged by the US Post Office, as the total distance flown was a mere three miles. As had been prearranged, he delivered the mail pouch “on time and on target” by dropping it overboard from an altitude of several hundred feet. Sans parachute, the bag burst open upon impact and scattered the mail hither and yon, providing amusement for the spectators and chagrin for the postal workers.
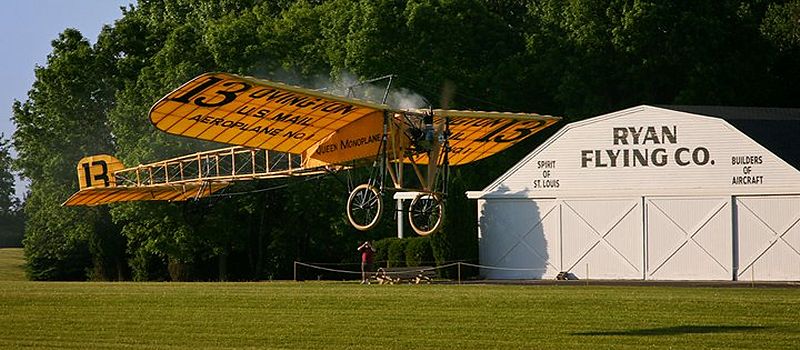
Replica Bleriot XI of the first US Airmail Aircraft (click to enlarge – courtesy of Bob Keller)
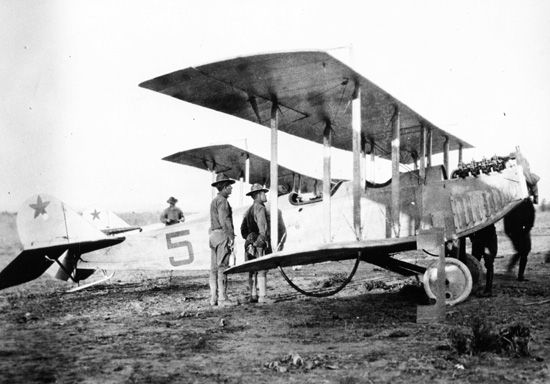
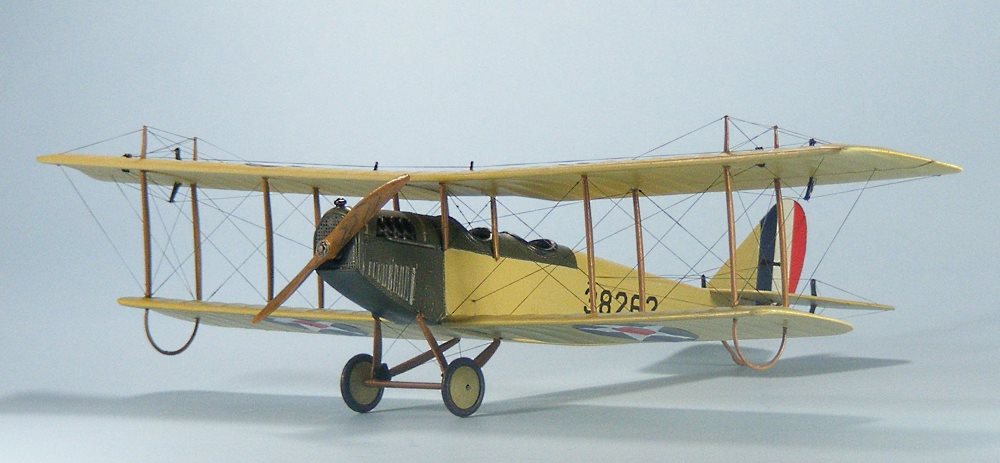
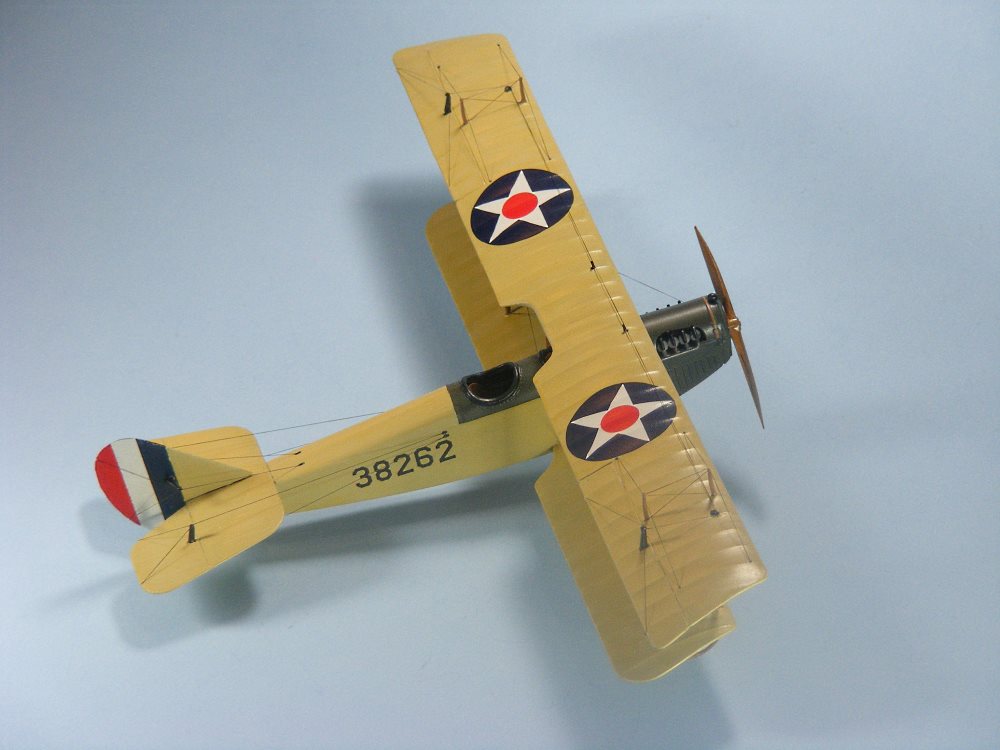
By the spring of 1918, the Post Office had been making plans to conduct a scheduled air mail service, and the Army obliged by supplying six JN-4s to be used to conduct trials. Equipped with the larger Hisso engine and with the front cockpit faired over to provide an enclosed space for the mail, these were designated as the JN-4HM. Serial number 38262 made the first flight, starting from Washington, D.C. on 15 May 1918. Bound for Philadelphia, the pilot got lost after 18 minutes and had to land for directions.
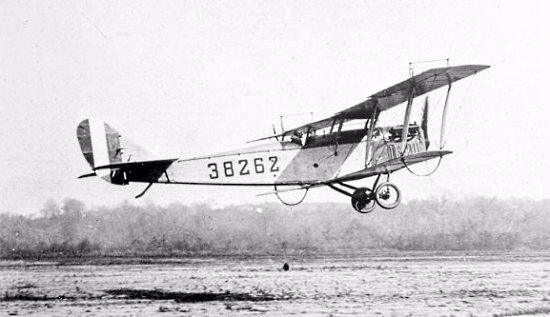
Curtiss JN-4HM 38262 (courtesy of NASMA)
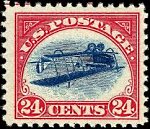
Five days earlier, the US Post Office had issued its first airmail stamp, and it featured this aircraft. In one of the most famous errors in philately, one pane of 100 stamps was inadvertently printed with the image of the aircraft upside down. These 24 cent “Inverted Jenny” stamps are now among the rarest and most expensive stamps in the world, with one selling in November 2007 for $977,500.
The original s/n 38262 has long since disappeared into history, but a full size flying reproduction exists. Built by team led by Dorian Walker and based in Bowling Green, Kentucky, it flew for the first time in October 2013. Using a Chevrolet V-8 engine to replace the scarce and relatively unreliable OX-5 or Hisso, the reproduction is otherwise a standard JN-4 and so retains the open front cockpit.
I was enamored with the idea of modeling this first US air mail plane, but when a brief internet browse couldn’t find any photos to indicate exactly how the front cockpit was sealed, I elected to use this modern reproduction as the basis for my model, so it’s a model of a model, so to speak.
Building the model…
To my knowledge, three different 1/48th scale kits of the JN-4 have been offered, and all are from, if not the dawn, then at least the late morning of our hobby. The first one was offered by Aurora in 1957, which was followed by the Lindberg kit in 1958, while the third one was released by Renwal in 1967. Only the Lindberg kit is still generally available, as it has been reissued many times, and this is the one that I built.
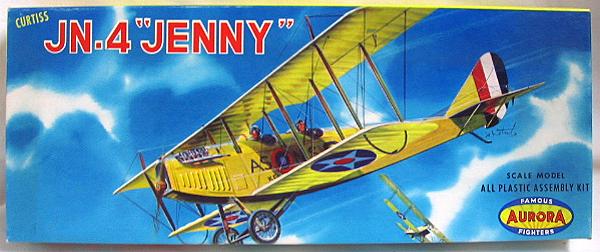
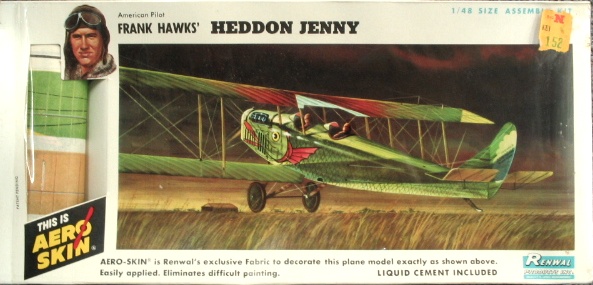
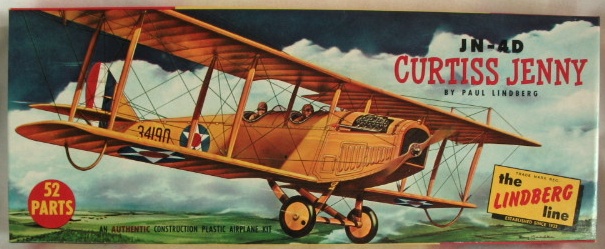

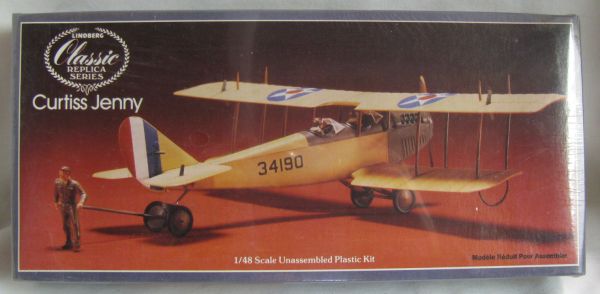
Aurora, Renwal and several Lindberg Jenny kits in 1/48 (click any to enlarge)
The first area that needed additional attention was the two cockpits. The kit provided a rudimentary floor, plus some generic instrument panels, sticks, seats and two obviously mortally wounded pilot figures. I tossed almost all of this and scratch built some replacements, adding a few bits of Evergreen plastic strip to represent longerons and other structural bits and pieces. I glued the two fuselage halves together and added the lower wing and horizontal stabilizer.
All three brands of the kits had approached the molding of the interplane struts differently. The Aurora kit featured eight separate struts. In an effort to ease alignment, Lindberg opted instead to mold the front and rear struts forming each bay in pairs with a connecting bar at the top of the struts to form an inverted “U” shape. This connector was intended to fit into a matching slot on the under surface of the upper wing. Renwal countered by using connecting bars at both the top and bottom of the pairs of front and rear struts, so that the resulting piece was an open square of plastic.

(click either to enlarge)
These connecting bars on the Lindberg kit are probably the worst feature of what is otherwise a very serviceable kit. A couple of online build articles suggest separating the struts, using the connecting bar to fill the slot in the underside of the wing. This approach offers the advantage of being able to fill and sand as necessary before the upper wing is added to the model. Of course, I had other ideas…
I drilled small holes for some of the multitude of rigging wires into the connecting bars above the top of each strut, with matching holes at the bottom of the struts, and then glued the bottom ends of the struts into the lower wing. I ran invisible thread through the holes in sequence, leaving the thread slightly loose. When I glued on the upper wing, I pulled on the loose ends of the invisible to get taut rigging lines. And while I was happy with this result, I was less pleased to see that the connecting bars stood proud of the wing surface instead of being a flush fit in their slots. I did a bit of ham-handed hacking and carving on the excess to pare them down to meet the admittedly less than stringent Sparks standard, but overly critical and/or easily amused viewers are hereby cautioned to avoid looking at this area of the model.
(click to enlarge)
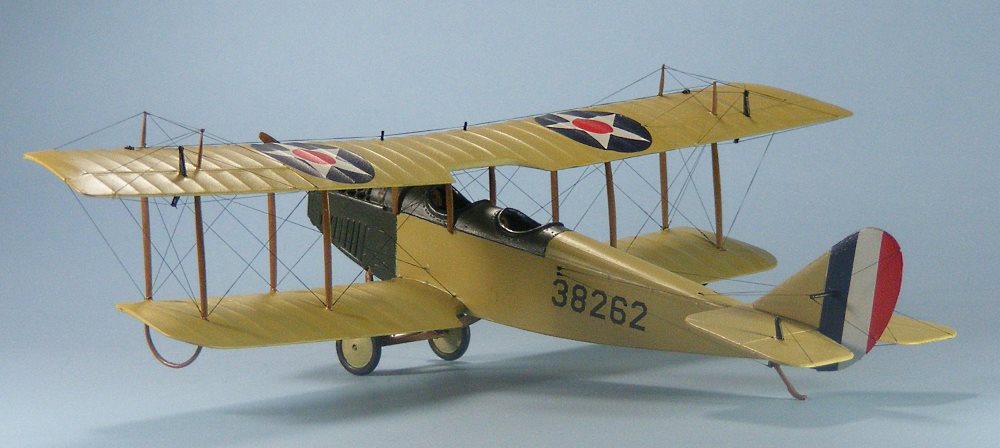
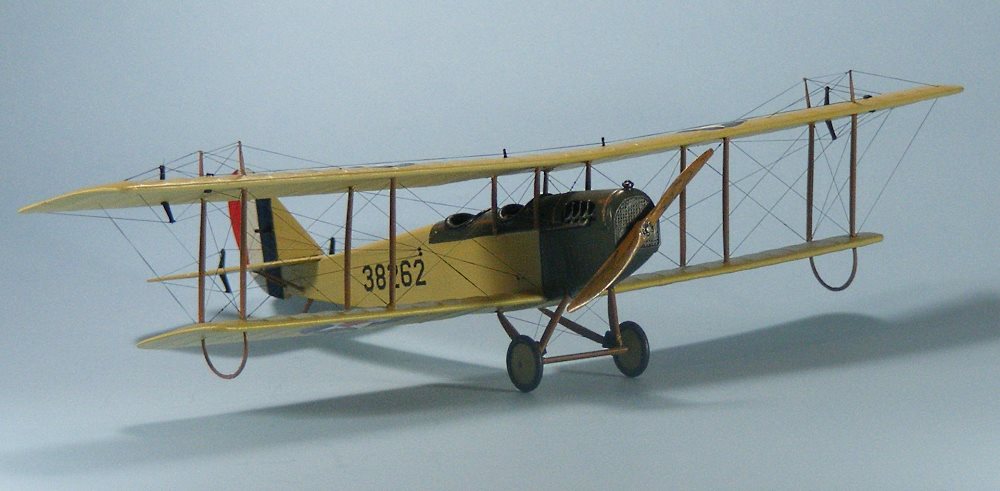
Because of the rigging, I brush-painted the model with Humbrol enamels, followed by a hand-brushed coat of Future and assorted aftermarket decals. After that, it was mostly a matter of continuing to add rigging and control wires until the model looked like it had been trapped in a spider web. The web site for the reproduction aircraft that was used as the basis of my model (www.friendsofjenny.org) indicates that construction had required almost a mile of steel cable.
(click either to enlarge)
In common with many aircraft of the period, JN-4s were delivered with a clear doped linen (CDL) finish, which is more of a translucent off-white. But some aircraft later received additional coats of varnish, giving them a more yellow cast, and after looking at the web site’s color photos of the reproduction aircraft, I added an additional coat of Future that I’d tinted with some Tamiya clear orange acrylic paint. Later it occurred to me that the photos appeared to have been taken in late afternoon or early evening hours, making the aircraft appear to have an even deeper hue, so I probably went overboard on the color.